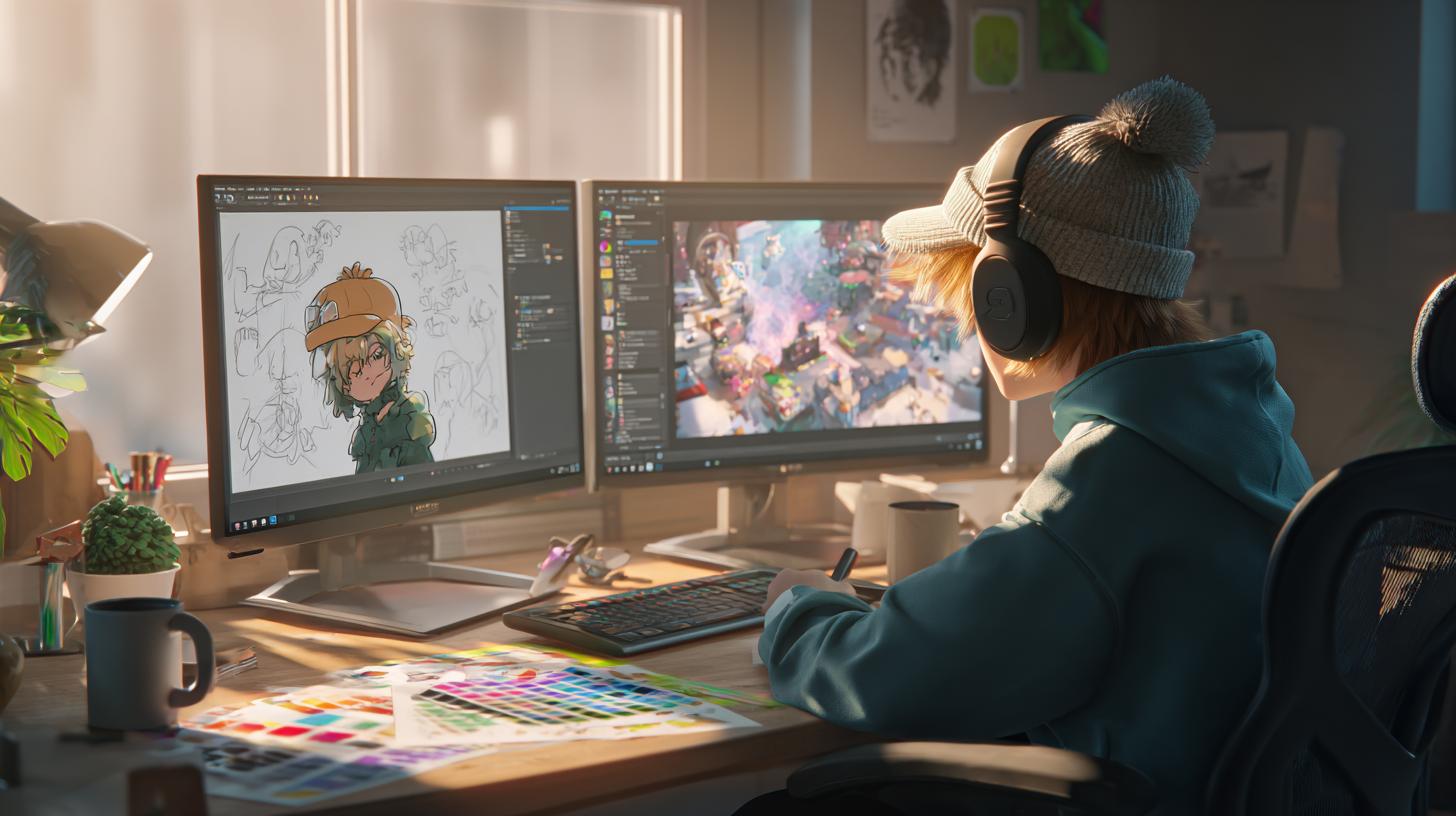
Unleash Your Creativity with This Roblox UGC Creation Tutorial
Are you ready to turn your imaginative ideas into playable assets on Roblox? This Roblox UGC creation tutorial will guide you step by step through the entire process—from brainstorming concepts to publishing your very own user-generated content on the platform. Whether you’re a seasoned developer or someone just getting started, you’ll discover insider tips, common pitfalls to avoid, and hands-on workflows that make crafting custom hats, accessories, and wearables a breeze. By the end of this article, you’ll feel confident navigating Roblox Studio, optimizing your models, and submitting high-quality UGC that stands out in the marketplace. So grab your stylus or mouse, and let’s dive into the world of Roblox asset creation together!
Understanding Roblox UGC and Its Benefits
User-generated content (UGC) on Roblox empowers creators to design and monetize custom assets such as hats, shirts, and gear. Embedding your style into a Roblox game gives you both visibility and a potential revenue stream through the Developer Exchange program. Learning the ropes of UGC development not only hones your 3D modeling skills but also builds your portfolio for future opportunities in game design or digital art.
What Is UGC in Roblox?
Roblox UGC stands for User-Generated Content, which allows approved creators to upload their own wearable items directly to the catalog. These assets can be purchased by millions of players, offering an interactive way to showcase your artistry. The platform supports a variety of file types, custom textures, and rigging, so your creativity is the only limit.
Why Create Your Own UGC?
Creating UGC on Roblox opens up multiple benefits: you gain reputation as a designer, earn Robux when users buy your items, and receive feedback from a large community. Plus, mastering UGC workflows builds transferable skills in 3D software like Blender or Maya, positioning you for careers in animation, game development, or digital marketing.
Preparing Your Workspace for Roblox UGC Creation
Before you start modeling, you need to configure Roblox Studio and gather essential tools. A well-organized workspace ensures a smooth workflow, reduces errors, and helps you stay consistent when building different accessories or assets.
Installing Roblox Studio
Download and install the latest version of Roblox Studio from the official Roblox Create page. After logging in, enable “UGC Creator” in your account settings under the Creator Dashboard. Make sure you meet the eligibility criteria, such as having a Developer product and a minimum amount of experience earned on the platform.
Setting Up Essential Tools
- Blender or Maya for advanced mesh editing
- Adobe Photoshop or GIMP for texture creation
- Roblox UGC API plugin for automated uploads
Install these tools and configure your file export settings to match Roblox’s requirements (usually .fbx format). Having the right plugins can save hours of manual work.
Step-by-Step Roblox UGC Creation Tutorial
Follow these core steps to produce polished, marketplace-ready UGC assets that follow best practices and performance guidelines.
-
Conceptualize Your Asset
Sketch your design on paper or digitally. Think about themes, color palettes, and target audiences—funny hats, futuristic helmets, or seasonal gear all have different user appeal.
-
Model and Texture in Roblox Studio
Import a base template into your 3D software, sculpt polygons, then unwrap UVs for texturing. Keep your mesh under the recommended polygon count to ensure smooth performance across devices.
-
Apply UGC API and Testing
Use the Roblox UGC API plugin to upload your asset to a test universe. Inspect for clipping, scaling issues, and texture stretching on both desktop and mobile.
-
Optimize and Export
Reduce unnecessary vertices, bake complex textures into simpler maps, and name your .fbx files clearly for version control. This streamlines the review process during publishing.
-
Publish to the Marketplace
In Roblox Studio’s “Develop” tab, select “Create UGC” and fill in titles, descriptions, and tags that include “roblox ugc creation tutorial” and related keywords. Preview how it appears in the catalog before you hit “Upload.”
Tips & Tricks for Optimizing Your UGC Assets
- Ensure polygon efficiency to maintain low lag
- Use UV mapping strategically to reduce texture seams
- Test your asset in multiple game environments
- Keep file sizes small to speed up load times
Overcoming Common Challenges in UGC Development
Even seasoned creators face hurdles like performance constraints, review delays, or unexpected clipping. Knowing how to troubleshoot these issues will make your journey smoother and more enjoyable.
Performance Constraints
If your model runs slowly on mobile, check your mesh density and simplify areas that players won’t notice. You can also swap high-res textures for compressed alternatives that still look crisp.
Approval Process Delays
Roblox reviewers assess every UGC item for policy compliance. To minimize back-and-forth, double-check asset guidelines, remove prohibited content, and provide clear tags and descriptions.
Next Steps: Grow Your UGC Portfolio
Now that you’ve completed this comprehensive roblox ugc creation tutorial, keep practicing by experimenting with different styles and item types. Join creator communities like the Roblox Developer Forum to get feedback, share your work, and discover collaboration opportunities.
Ready to impress thousands of players with your unique creations? Start your first project today, and don’t forget to subscribe to our newsletter for exclusive asset packs and advanced tutorials. Happy building!
